
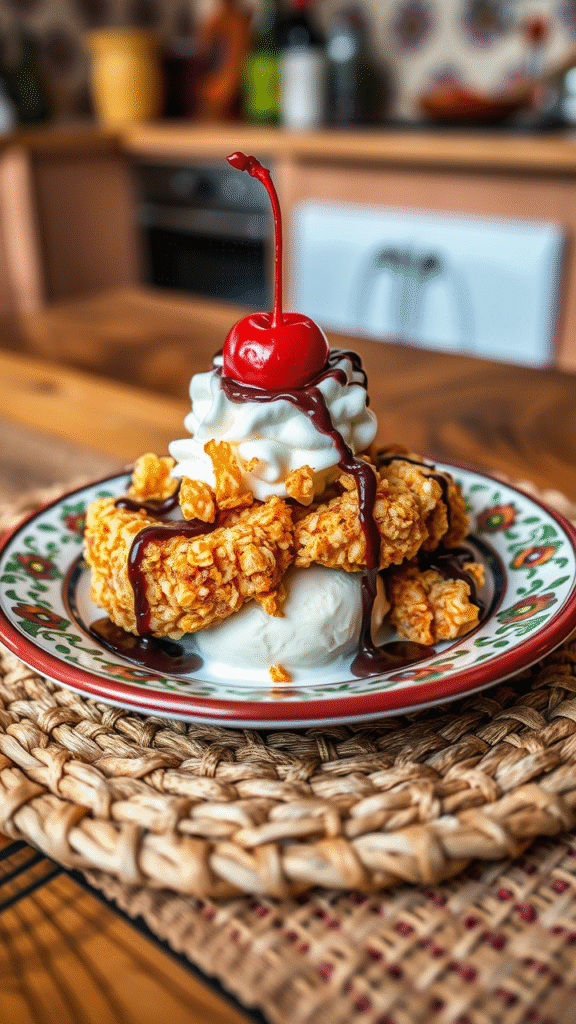
If you’ve ever been to a Mexican restaurant, you might have seen it—a golden, crispy exterior encasing a smooth, creamy ice cream, drizzled with honey and maybe a bit of cinnamon. Mexican fried ice cream is one of those delightful surprises that makes you question how something so cold and creamy can be transformed into something so hot and crispy. The contrast of textures is mind-blowing, and the flavor is nothing short of unforgettable.
Mexican fried ice cream is more than just a fun fusion of cold and hot. It’s an iconic dessert with deep roots in Mexican-American cuisine. While its exact origin is debated, many believe it was popularized in the U.S. in the 1960s or ’70s by Mexican restaurants seeking to create something unique and memorable. The combination of deep-frying ice cream sounds wild, but when done right, it’s a showstopper.
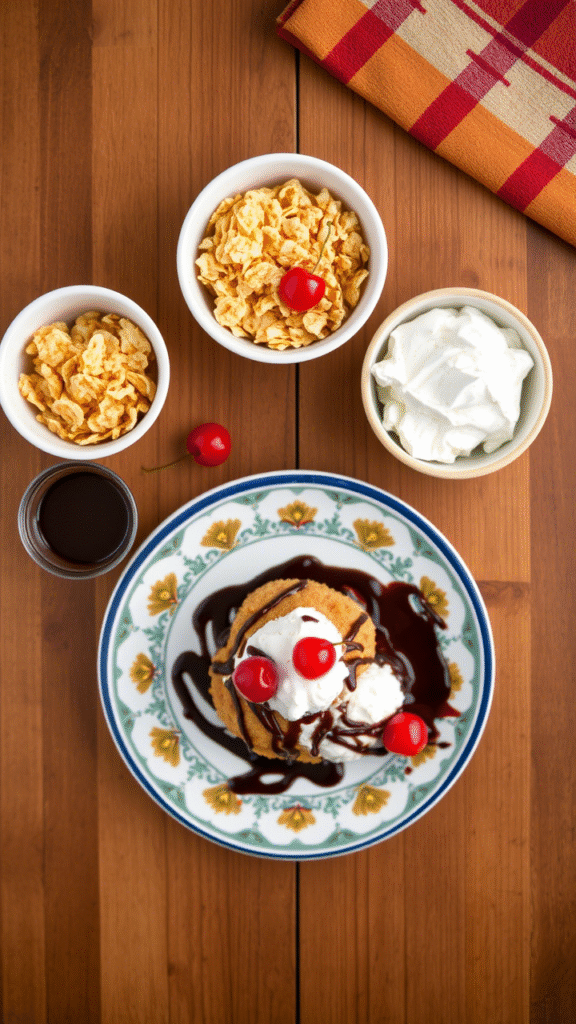
Ingredients & Substitutions
To make this treat, you’ll need a few key ingredients that come together in perfect harmony. But there are plenty of substitutions if you’re dealing with dietary restrictions or regional limitations.
The Basics:
- Ice Cream – Use high-quality vanilla ice cream (or another flavor if you want to get creative). This is the heart of the dish, so make sure it’s creamy and full of flavor. If you’re vegan, coconut milk ice cream or soy-based options work well as alternatives.
- Cornflakes – The crunchy exterior of fried ice cream comes from crushed cornflakes. They give that golden, crispy finish that’s essential to the dish’s texture. Gluten-free cornflakes can replace regular ones for those avoiding gluten.
- Cinnamon – A little cinnamon adds a warm kick. If you want to shake things up, try using nutmeg or even a dash of chili powder for an extra zing.
- Sugar – Granulated sugar adds sweetness, but you could use agave syrup or maple sugar if you prefer something less refined.
- Eggs – Eggs help bind the coating and create a rich, crispy exterior. For egg-free versions, try a mixture of plant-based milk and cornstarch as a substitute.
- Honey – This optional drizzle adds richness and a touch of sweetness. If you want something a little more decadent, use chocolate or caramel sauce instead.
Ingredient Selection Tips:
When choosing ice cream, look for brands with simple, high-quality ingredients. Avoid anything with artificial flavors or too many fillers. As for the cornflakes, be sure to crush them finely so they coat the ice cream evenly, without creating large clumps that could burn during frying.
Step-by-Step Instructions
Step 1: Prep the Ice Cream
Start by scooping out balls of ice cream. I usually go for about 1.5 to 2-inch scoops. You don’t want them too big, or they’ll be harder to fry evenly. Place them on a baking sheet lined with parchment paper, and pop them in the freezer for about 1 to 2 hours, or until they’re rock-solid. This is crucial. If your ice cream is too soft, it’ll melt into a messy puddle when it hits the oil.
Step 2: Prepare the Coating
While the ice cream is freezing, crush your cornflakes. You don’t need them to be powdered, but they should be broken into small pieces that will form a nice, even crust. If you’re feeling fancy, mix the crushed cornflakes with a tablespoon of sugar and cinnamon to add extra flavor. You can also toast the cornflakes in a pan for a few minutes to deepen the flavor, though it’s not necessary.
In a shallow bowl, beat your eggs. You’ll need enough to coat the ice cream balls thoroughly, so make sure the bowl is large enough. Don’t skimp on this part. A proper egg wash will ensure the cornflakes stick well and fry up crispy.
Step 3: Coat the Ice Cream
Take your frozen ice cream scoops and dip each one into the egg wash, ensuring they’re fully covered. Then, roll them into the crushed cornflake mixture. Press down gently to make sure the coating sticks well. You want a nice, even layer. Once they’re coated, place them back in the freezer for another 30 minutes. The more time they spend in the freezer, the better.
Step 4: Fry the Ice Cream
In a deep pan or a fryer, heat oil to around 375°F (190°C). You want enough oil for the ice cream balls to be fully submerged. The oil should be hot but not smoking. If it’s too cold, your ice cream will start melting before the coating can crisp up. If it’s too hot, the crust could burn before the ice cream has a chance to warm through.
Fry the coated ice cream balls for about 30 seconds to 1 minute, or until the coating is golden brown and crispy. Don’t try to fry too many at once. Overcrowding the pan will lower the oil temperature, and you’ll end up with a soggy mess.
Step 5: Serve Immediately
As soon as the fried ice cream balls are golden and crispy, carefully remove them with a slotted spoon. Drain any excess oil and place them on a plate lined with paper towels. Drizzle with honey, chocolate, or caramel sauce for a sweet finishing touch. A sprinkle of cinnamon or a handful of chopped nuts makes a nice garnish.
Mistakes to Avoid:
- Too much ice cream: If your scoops are too large, the ice cream will be difficult to coat and fry without melting.
- Too soft ice cream: Don’t skip the freezing time. If the ice cream isn’t frozen enough, it will melt and cause the coating to fall apart.
- Overcrowding the pan: Frying too many balls at once can drop the oil temperature too much, resulting in soggy ice cream.
Variations:
- Spicy Fried Ice Cream: Add a pinch of chili powder or cayenne to the cinnamon-sugar mix for a spicy kick.
- Coconut Fried Ice Cream: For a tropical twist, roll your ice cream balls in shredded coconut before the cornflakes.
- Chocolate Lover’s Fried Ice Cream: Drizzle with chocolate syrup and top with mini chocolate chips for a richer version.
Cooking Techniques & Science
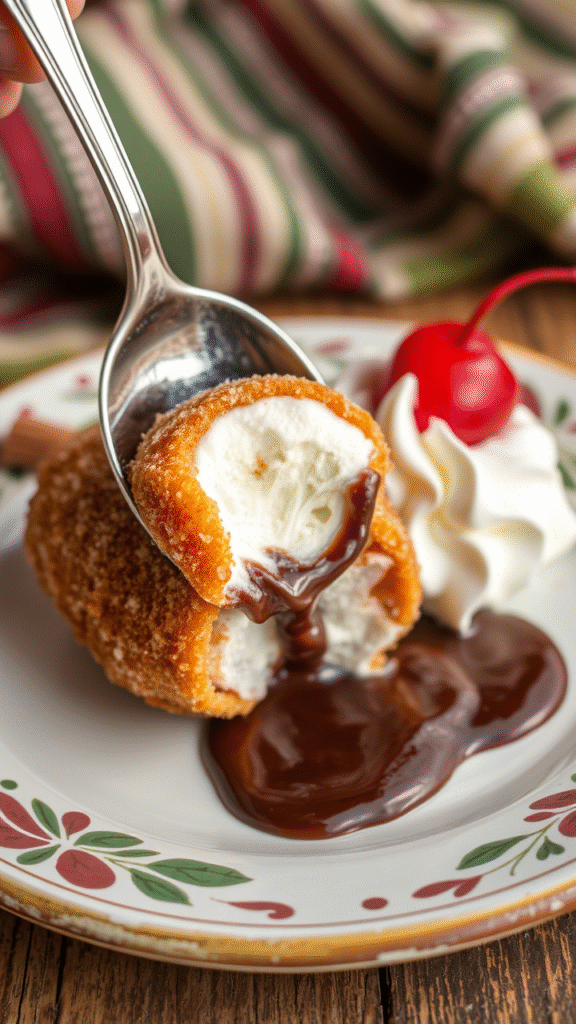
When you fry ice cream, you’re doing something that might seem counterintuitive at first. The idea is to create a crispy crust that shields the ice cream from the hot oil. The ice cream’s cold temperature prevents it from melting too quickly, while the coating crisps up quickly, creating that delicate contrast between hot and cold.
The key here is flash-frying. The oil needs to be hot enough to form a crust quickly but not so hot that it burns. The ice cream itself stays mostly frozen inside the crispy shell, which is why the timing is critical. Any longer in the oil, and you’ll find yourself with a puddle of melted ice cream.
Serving & Pairing Suggestions
To serve this dessert in style, place the fried ice cream ball on a small dish, perhaps lined with a bit of parchment paper for a rustic touch. A drizzle of honey or caramel adds a touch of sweetness, while a few mint leaves on the side bring freshness to balance the richness. Pair it with a refreshing Margarita or a shot of tequila to complete the Mexican-themed experience.
Conclusion
Mexican fried ice cream is a showstopper, blending crispy, crunchy textures with creamy ice cream for an unforgettable dessert experience. The key to perfecting it lies in the balance of temperature, timing, and coating. With a few tweaks, you can create a version of this dessert that’s all your own. Whether you’re making it for a special occasion or just because you love a good treat, it’s a dessert that always impresses.
Expert Tips:
- Don’t skip freezing time. It makes or breaks the recipe.
- Be patient while frying. A golden crust will reward your efforts.
- Get creative with toppings and flavors—this dessert is versatile!
Frequently Asked Questions
1. Can I make this dessert in advance?
While you can prepare the ice cream scoops and freeze them ahead of time, it’s best to fry them right before serving. The crispy texture won’t last long once fried.
2. Can I use a different type of ice cream?
Yes! Feel free to experiment with different flavors like chocolate, strawberry, or coffee. Just make sure the ice cream is dense and creamy to avoid melting too fast during frying.
3. Can I make the coating without cornflakes?
Sure! You can substitute the cornflakes with crushed graham crackers, crushed nuts, or even crispy rice cereal. Just make sure whatever you use provides a good crunch.
4. How do I make sure the ice cream doesn’t melt too fast?
Freeze the ice cream scoops for at least 2 hours before frying. The colder they are, the better the crust will form and the less likely the ice cream will melt in the oil.
5. Is this dessert gluten-free?
Yes, if you use gluten-free cornflakes and ensure your other ingredients are also gluten-free. It’s easy to make it a gluten-free treat with just a few adjustments.

Food lover, recipe creator & the heart behind NoshCrafters.com. Olivia shares mouthwatering, easy-to-make dishes that turn everyday meals into unforgettable bites. When she’s not experimenting in the kitchen, she’s busy plating up inspiration for home cooks everywhere.