
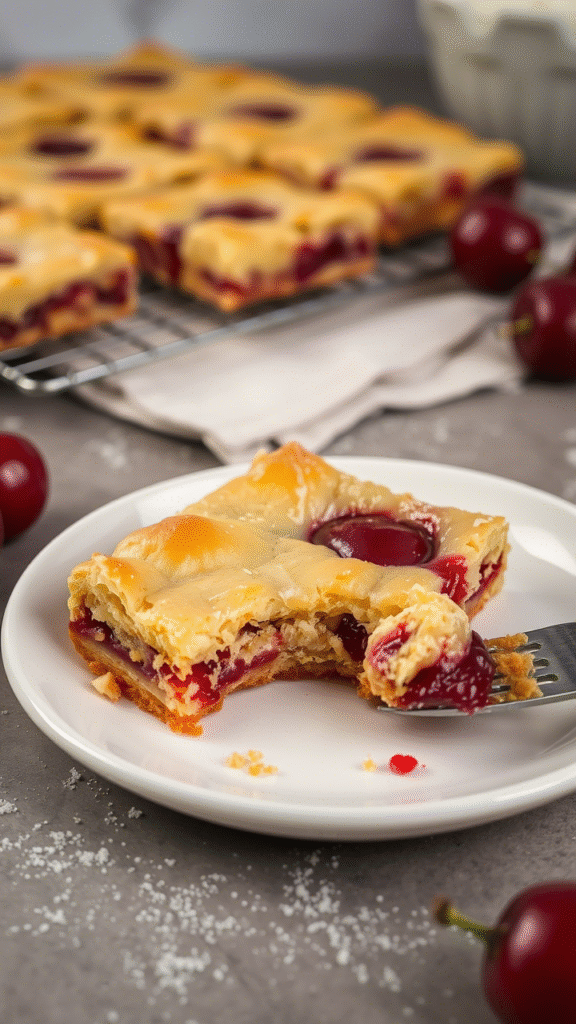
There’s a certain charm to the classic cherry pie its sweet, tart filling nestled between layers of golden crust. But what if you could have all the joy of a pie, minus the fiddling with a pie crust, and with the ease of a bar cookie? Cherry pie bars do just that.
The first time I tasted one, I was instantly hooked. I couldn’t stop thinking about how the combination of buttery, crumbly crust and tart cherry filling was perfect for every season. You get all the goodness of a cherry pie, but in an easy-to-eat, portable bar form.
What makes cherry pie bars so unique is their ability to give you the same comforting flavors of a traditional cherry pie, without the hassle. And they’re so much easier to make.
This recipe uses a buttery shortbread-like crust with a generous layer of fresh cherry filling, all topped with a crumbly, streusel-like topping.
It’s a dessert that feels familiar but also exciting and new. Whether you’re preparing for a family gathering or baking up a sweet treat for yourself, cherry pie bars never disappoint.
Ingredients & Substitutions

Before you dive into the recipe, it’s important to understand how the ingredients come together. Let’s go over the essentials.
For the crust and topping, you’ll need:
- 2 cups all-purpose flour: This forms the bulk of your crust and topping. If you want a gluten-free version, substitute with a 1:1 gluten-free flour blend.
- 1 cup unsalted butter: This is where the richness comes from. If you’re looking for a dairy-free version, vegan butter will work just fine.
- ½ cup granulated sugar: A touch of sweetness in the crust. You could try coconut sugar if you want something a little less processed, though the flavor might be slightly different.
- ½ teaspoon salt: It balances the sweetness and adds depth.
- 1 teaspoon vanilla extract: A little vanilla goes a long way to elevate the flavor.
- ½ teaspoon baking powder: This helps give the crust and topping a little lift.
For the cherry filling, you’ll need:
- 2 cups fresh or frozen cherries: If fresh cherries aren’t in season, frozen will work just as well. Make sure to thaw and drain them if using frozen.
- 1 cup granulated sugar: Cherry pie bars need that perfect balance of tart and sweet. You can reduce the sugar slightly if you like a tarter filling.
- 1 tablespoon cornstarch: This will help thicken the filling.
- 1 tablespoon lemon juice: It’s essential for bringing out the natural brightness of the cherries.
- ¼ teaspoon almond extract: This adds a layer of complexity to the filling, though it’s optional if you’re not a fan.
Substitutions? There are a lot of ways you can switch things up here, depending on dietary preferences or what you have on hand. You can swap the sugar for honey or maple syrup, but that will change the texture of the filling a bit, so be prepared for a slightly different result. For a nutty twist, a little chopped almonds or walnuts on top can add a nice crunch. And if you want a more rustic feel, try using oat flour or a mix of almond flour for a gluten-free base.
Read this Blog: https://noshcrafters.com/amish-country-casserole/
Step-by-Step Instructions
The process of making cherry pie bars is easy and straightforward, but it’s important to keep a few tips in mind. Here’s how you do it.
- Preheat your oven to 350°F (175°C). Line a 9×13-inch baking pan with parchment paper for easy removal. Grease the edges of the pan to ensure the bars don’t stick. You’ll thank me later when it comes time to cut them.
- Make the crust and topping: In a large bowl, combine the flour, sugar, salt, and baking powder. Add in the butter, cut into cubes, and rub it in with your fingers, or use a pastry cutter until the mixture resembles coarse crumbs. Stir in the vanilla extract. It’ll feel a little sticky at first, but don’t worry, the heat from your hands will help the butter incorporate perfectly. Press about 2/3 of the mixture into the prepared baking pan, forming an even layer on the bottom. Save the rest for the streusel topping.
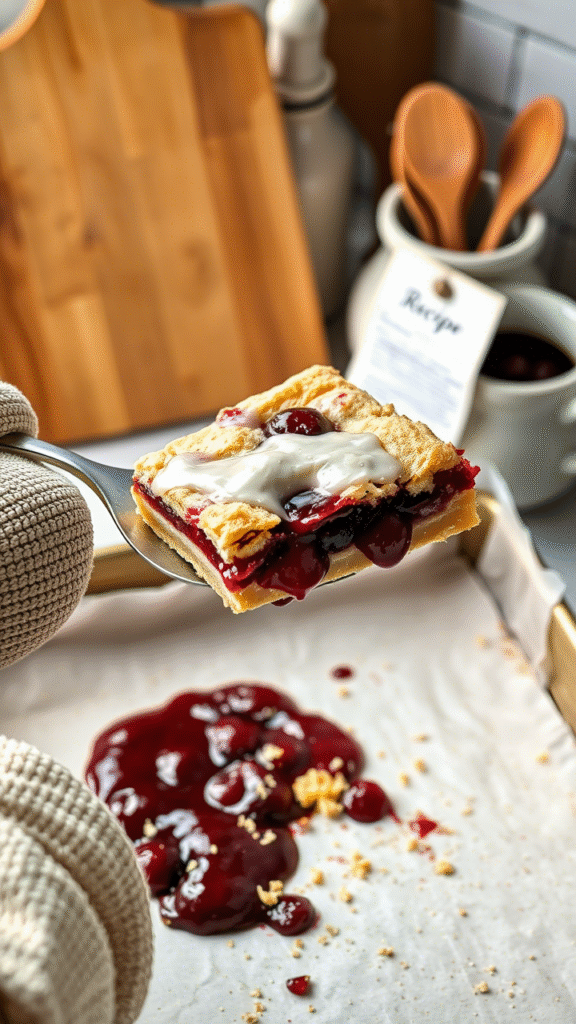
- Prepare the cherry filling: In a medium saucepan, combine the cherries, sugar, cornstarch, lemon juice, and almond extract. Cook over medium heat, stirring occasionally, until the mixture starts to thicken and bubble, about 5-8 minutes. It should resemble a jammy consistency. Pour this cherry filling over the crust in your pan.
- Crumble the remaining dough over the cherry filling. This creates the streusel topping. It doesn’t need to be perfectly even, just spread it out as best you can. Pop the whole thing into the oven.
- Bake for 45–50 minutes, or until the top is golden brown and the cherry filling is bubbling around the edges. Trust me, the smell will be irresistible as it bakes.
- Let the bars cool completely before cutting them. This is a crucial step. If you try to cut them while they’re still warm, you’ll end up with a gooey mess. But once they cool, they’ll slice beautifully into neat squares.
Cooking Techniques & Science
Why do we use the combination of butter, sugar, and flour for the crust? It’s all about achieving that perfect texture. Butter gives the dough a richness, while the sugar helps to create a slight caramelization when baked. The flour provides structure, and the salt helps to balance the sweetness.
Baking powder is crucial here—it adds lift to the crust and topping, preventing it from becoming too dense. You want a crumbly, shortbread-like texture that complements the juicy cherry filling.
The cornstarch in the cherry filling serves as a thickening agent, creating that jammy consistency you’re after. Without it, the cherry filling could turn too watery and soggy the crust. The almond extract enhances the natural flavor of the cherries, giving the whole dish a depth you wouldn’t expect from such a simple dessert.
Serving & Pairing Suggestions
There’s something about a good cherry pie bar that begs for a little something extra on the side. A scoop of vanilla ice cream or a dollop of freshly whipped cream is always a winning choice. If you’re feeling indulgent, a drizzle of warm chocolate sauce would be an unexpected but delightful twist.
Pair these with a cold glass of milk or a hot cup of coffee to balance the sweetness. And if you’re looking to impress, try serving them with a side of macerated strawberries or fresh whipped cream with a sprinkle of lemon zest. It’s a perfect summer dessert or a lovely treat for the holidays.
Conclusion
Cherry pie bars are one of those desserts that feel like home. The buttery crust, the rich cherry filling, and the slightly crumbly streusel topping come together in perfect harmony. Whether you’re an experienced baker or a beginner, these bars are easy to whip up and will always be a crowd-pleaser. Experiment with the ingredients, change the fruit filling to suit your taste, or add your twist on the toppings. No matter what, you’ll always end up with a treat that’s hard to beat.
Expert Tips:
- To prevent the crust from sticking, use parchment paper to line your pan. It makes a world of difference.
- Use fresh, in-season cherries for the best flavor, but frozen cherries can also give great results.
- Be patient and let the bars cool completely before cutting—this makes all the difference in how they hold up.
Frequently Asked Questions
Can I use a different fruit filling for these bars?
Yes, you can! Try using blueberries, peaches, or raspberries for a different twist. Just make sure the filling is thickened with cornstarch to avoid a soggy crust.
Can I make these bars ahead of time?
Absolutely! These bars store well for up to 3 days at room temperature. For longer storage, keep them in the fridge for up to a week or freeze them for later.
Can I make the crust gluten-free?
Yes, use a gluten-free flour blend in place of regular all-purpose flour. The texture might be slightly different, but the flavor will still be fantastic.
How do I prevent the cherry filling from being too runny?
Be sure to cook the filling until it thickens to a jam-like consistency. The cornstarch is key here for thickening, so don’t skip it!
Can I add nuts to the topping?
Definitely! A handful of chopped walnuts or pecans sprinkled over the top before baking can add some nice crunch and flavor.

Food lover, recipe creator & the heart behind NoshCrafters.com. Olivia shares mouthwatering, easy-to-make dishes that turn everyday meals into unforgettable bites. When she’s not experimenting in the kitchen, she’s busy plating up inspiration for home cooks everywhere.