
I remember the first time I made salted caramel cupcakes for a wedding tasting. I wasn’t even sure the couple would go for it—they were leaning toward something “elegant, classic.” But when they tasted them? Dead silence. The kind of silence that tells you everything. Then came a deep breath, a low mmmmm, and the words: “This is dangerous.” And that’s exactly what these cupcakes are. A little dangerous.
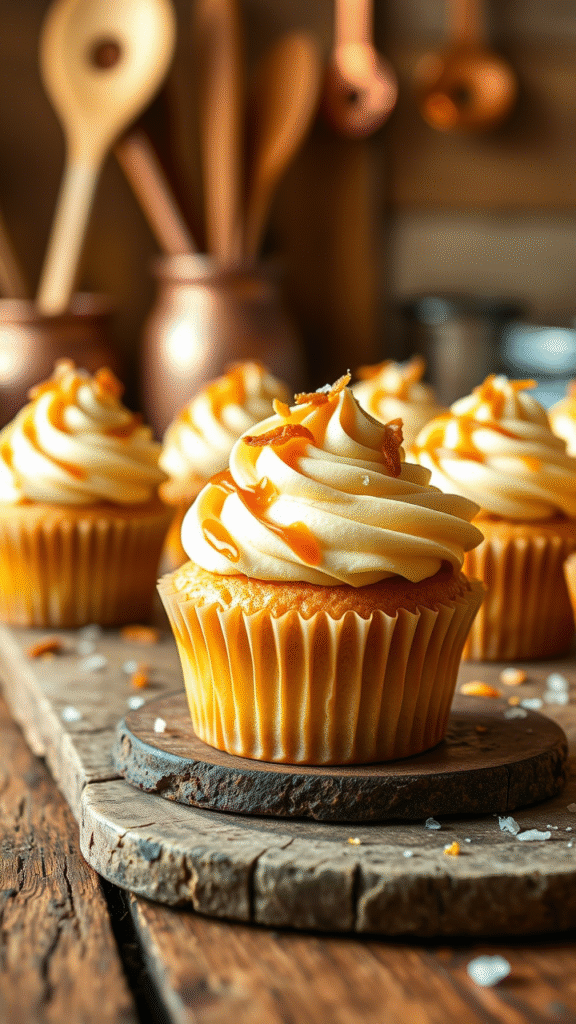
Salted caramel cupcakes live in that golden middle ground where deep, burnt-sugar intensity meets soft, vanilla-crumb comfort. They’re not just “sweet”—they’re bold. With that little hit of salt that makes your tastebuds sit up straight and pay attention. This isn’t your run-of-the-mill cupcake shop filler. Done right, it’s a dessert that’s layered in flavor and texture—silky caramel, tender sponge, a lick of rich frosting, maybe a surprise filling if we’re feeling extra.
What Makes Salted Caramel Cupcakes So Special?
Let’s not pretend this is just about throwing caramel into a cupcake and calling it a day. No, what makes these special is balance. That salty edge isn’t just for shock—it amplifies the flavors, keeps things from turning one-note. And the caramel? It should have complexity. That slight bitterness from browning the sugar just right. Not burnt, not undercooked. Caramel is picky like that.
Also, don’t sleep on texture. A great salted caramel cupcake should be fluffy, yes—but also moist (ugh, I know, that word), slightly dense in a luxurious way. And the frosting? Silky, buttery, not cloying. If you can eat the whole thing without feeling like you just drank a mug of sugar, you’ve nailed it.
Ingredients & Substitutions
Here’s the real deal list. These are what I use in my professional kitchen, with notes for subs when needed.
For the cupcakes:
- 1 ½ cups (180g) all-purpose flour
Want a tighter crumb? Go half cake flour. - 1 ½ tsp baking powder
- ½ tsp fine sea salt
Yes, use sea salt here—not iodized. You’ll taste the difference. - ½ cup (113g) unsalted butter, room temp
- ¾ cup (150g) granulated sugar
- ¼ cup (55g) brown sugar
Light brown’s good. Dark brings in more molasses bite. - 2 large eggs, room temp
- 1 tsp vanilla extract
- ½ cup (120ml) whole milk
- ¼ cup (60ml) sour cream
This one matters. Sour cream adds richness + tang. Greek yogurt will do in a pinch.
For the salted caramel sauce:
- 1 cup (200g) granulated sugar
- 6 tbsp (85g) unsalted butter, cut into cubes
- ½ cup (120ml) heavy cream
- 1 tsp sea salt (fleur de sel or Maldon if you fancy)
For the caramel buttercream:
- 1 cup (227g) unsalted butter, softened
- 2–2½ cups (240–300g) powdered sugar, sifted
- ½ cup salted caramel sauce (from above)
- Pinch of salt, if needed
Ingredient Notes:
Don’t go low-fat here. If you’re baking with skim milk and margarine, this ain’t your recipe. The flavor relies on fat carrying the caramel notes. If dairy’s off-limits, full-fat coconut cream and a good vegan butter (like Miyoko’s) can get you 90% there.
Oh, and vanilla: real extract, not the imitation stuff. Or better yet, scrape a bean. You’ll thank me later.
Step-by-Step Instructions
Alright. Let’s bake like we mean it.
1. Make the caramel first.
You don’t want to rush this part. In a heavy saucepan, heat sugar over medium heat. Stir constantly with a high-heat silicone spatula. It’ll clump first—ignore your panic—and then melt into a coppery liquid.
Add butter carefully (it will splatter), and stir. When fully melted, drizzle in cream. Let it bubble a minute or so. Add salt. Let cool at least 30 mins before using—warm caramel will ruin your buttercream.
Common mistake: stirring too little or too much. You want to stir just enough to keep sugar from scorching. Not so much that you break its will to become caramel.
2. Make the cupcakes.
Preheat oven to 350°F (175°C). Line a muffin tin with papers.
In a bowl, whisk together flour, baking powder, and salt.
Cream butter with both sugars until pale and fluffy—about 3 minutes on medium speed. Add eggs one at a time, mixing well between. Beat in vanilla.
Alternate adding dry ingredients with milk and sour cream, starting and ending with dry. Don’t overmix—just until combined.
Scoop into liners, filling about ¾ full. Bake 18–20 mins. Toothpick should come out clean.
Let cool completely.
3. Make the buttercream.
Beat butter until smooth and light—3–4 mins.
Add powdered sugar in batches, scraping down sides. Drizzle in cooled caramel and whip until silky. If it’s too stiff, add a spoonful of cream. Too loose? More sugar or a chill in the fridge.
Taste it. Then add salt if needed. Depends on how salty your caramel turned out.
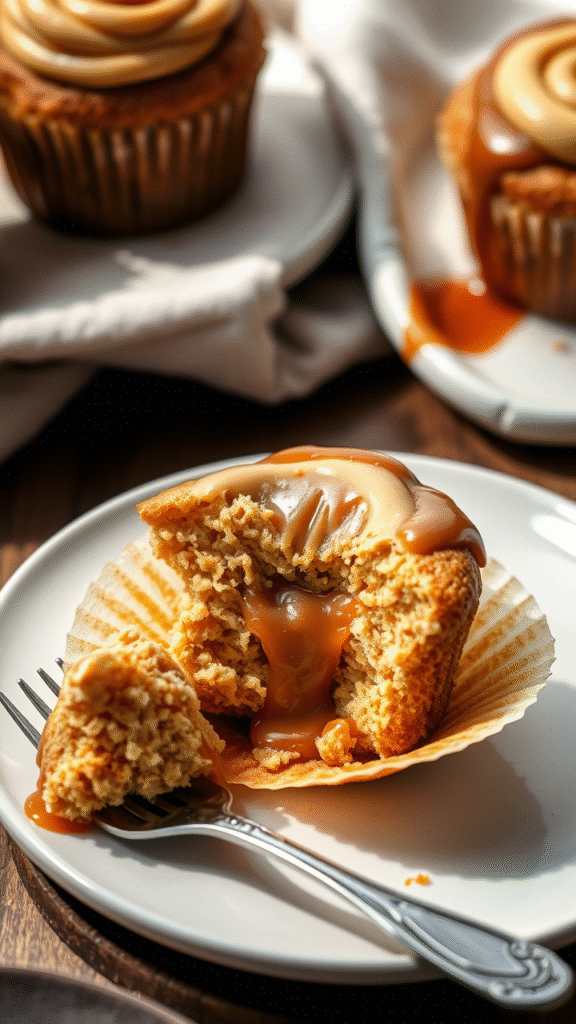
Optional: Core out the center of each cupcake and fill it with a spoon of caramel before frosting. It’s over the top. It’s indulgent. And it’s amazing.
4. Frost those babies.
Use a piping bag with a round or star tip, or just swipe it on with a palette knife for a rustic look. Drizzle more caramel on top. Add a few salt flakes if you’re feeling bougie.
Cooking Techniques & Science
Let’s nerd out a little.
Caramelization is a delicate chemical process. Sugar begins to caramelize at about 320°F (160°C). Go too far? You’ll get bitter, burnt notes. Not far enough? You’ll miss that smoky complexity.
Why sour cream? It adds moisture without thinning the batter. The acid also tenderizes the gluten a bit, giving you a softer crumb.
Creaming butter and sugar traps air—literally. That’s why you don’t want to rush it. Those air bubbles are what give your cupcake lift.
Salt matters. It’s not just flavor. Salt enhances the perception of sweetness and cuts the heaviness of caramel. Don’t skip or skimp.
Tools that make a difference:
- Use a stand mixer if you can. Your arm will thank you.
- An instant-read thermometer helps nail the caramel stage.
- Ice cream scoop for evenly portioning batter. Consistent sizes = even bake.
Serving & Pairing Suggestions
These cupcakes are rich, no doubt. Serve them slightly chilled if you filled them with caramel—gives that lovely sticky bite when you hit the center.
Garnish with:
- A shard of caramelized sugar for drama.
- A sprinkle of flaky salt.
- A mini pretzel on top (sweet + crunch + salt = win).
Drinks? Strong coffee or espresso works beautifully. You want bitterness to balance the sweetness.
Or—if it’s for an event—a small glass of tawny port or a not-too-sweet sparkling wine. Bubbles help cut through the richness.
They also play well with:
- Chocolate-dipped strawberries
- Espresso mousse
- Light citrusy salads as a pre-dessert course
Conclusion
Salted caramel cupcakes are not basic. They’re a lesson in balance and restraint—even while being wildly decadent. The key isn’t just throwing caramel at sugar. It’s about building contrast: light and dense, sweet and salty, creamy and crisp.
Use the best ingredients you can get your hands on. Don’t skip the science. And taste as you go. Always.
If your caramel’s too runny, simmer it longer. If your frosting breaks, chill it. And if something flops? Try again. Caramel teaches patience like nothing else.
You master these cupcakes, you’ve got a party trick that’ll shut down any bake-off table.
FAQs
1. Can I make these cupcakes in advance?
Absolutely. The cupcakes can be baked a day ahead and stored in an airtight container. The caramel and frosting can be made ahead too—just rewhip the buttercream before using.
2. My caramel turned grainy. What went wrong?
You likely stirred after the sugar started caramelizing, causing crystallization. Next time, use a wet pastry brush to wipe down the sides of the pot early on, and don’t stir once it’s melted.
3. Can I use store-bought caramel?
Technically, yes. But you’ll lose depth of flavor. Homemade caramel has that rich, slightly smoky note that makes all the difference.
4. What’s the best way to fill cupcakes with caramel?
Use a small apple corer or a paring knife to hollow out the center. Pipe or spoon in cooled caramel, then cap with the piece you removed (or eat it—no shame).
5. How do I store leftovers?
Fridge for up to 3 days, tightly covered. Let them come to room temp before serving. They also freeze well—just hold off on the caramel drizzle ‘til you’re ready to serve.

Food lover, recipe creator & the heart behind NoshCrafters.com. Olivia shares mouthwatering, easy-to-make dishes that turn everyday meals into unforgettable bites. When she’s not experimenting in the kitchen, she’s busy plating up inspiration for home cooks everywhere.