
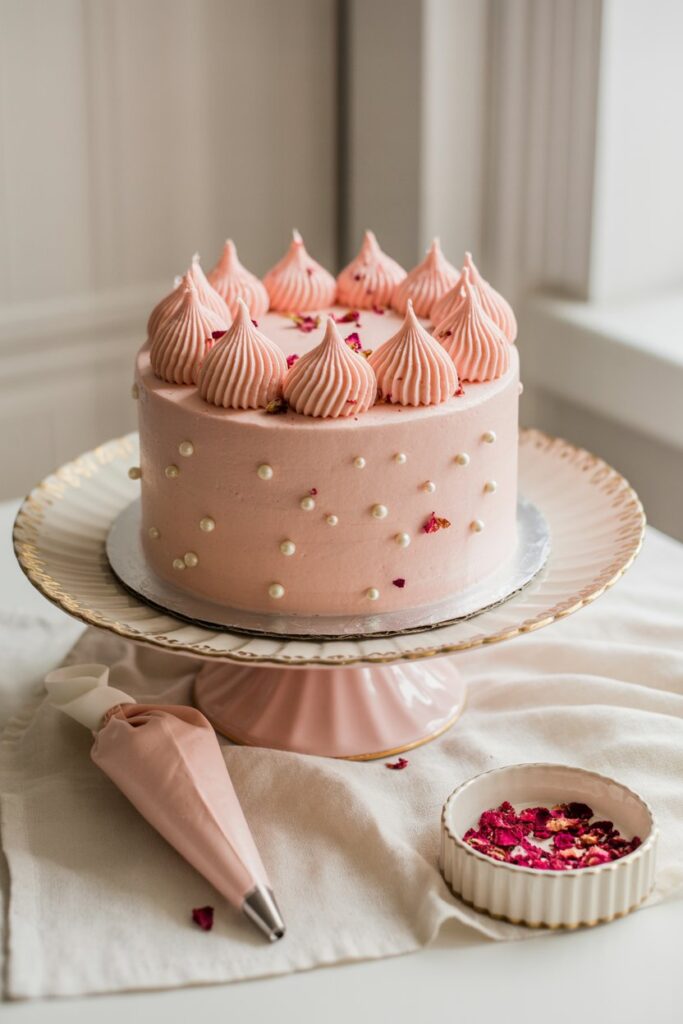
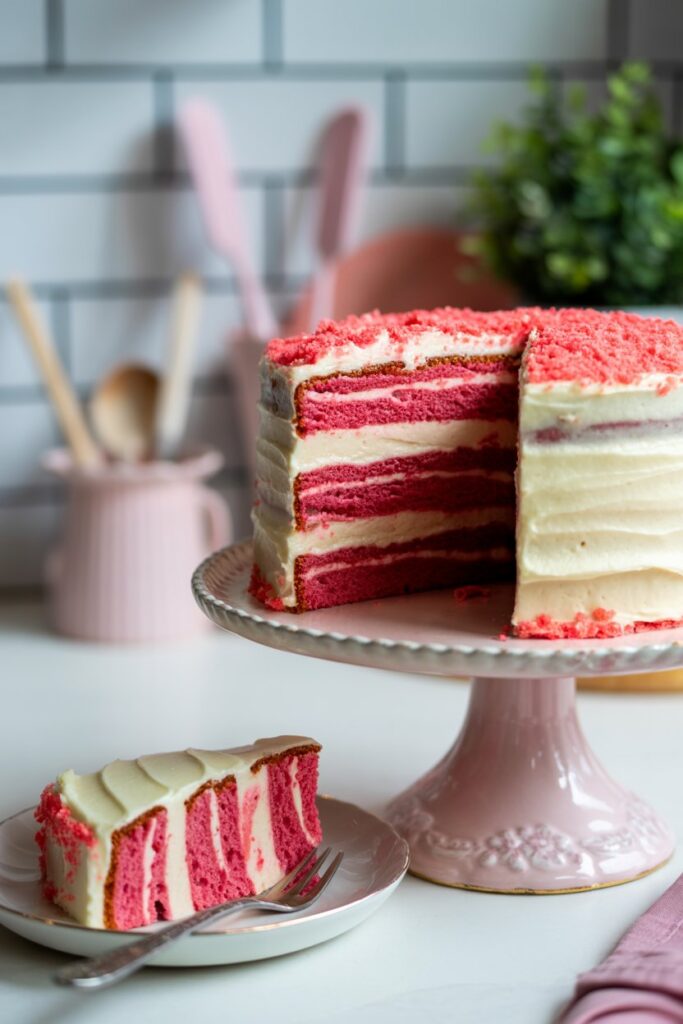
Let’s talk about pink velvet cake. Yep, you read that right—pink velvet. It’s a cake that’s as bold as it is beautiful. A cake that instantly grabs attention with its soft, tender crumb and that stunning, vibrant hue. But there’s more to this dessert than just its color. Pink velvet cake combines the richness of a velvet cake with a soft, almost ethereal sweetness that’s hard to resist. In fact, there are few things more satisfying than cutting into a slice and seeing that rich, pink interior. Whether you’re baking it for a special occasion or just because you’re in the mood for something a little different, this cake’s got that ‘wow’ factor that’s sure to make it the star of any table.
But hold on. Before we get carried away by its looks, let’s dive into the intricacies of what makes this cake so fantastic. What’s the difference between regular red velvet and pink velvet? Why does this cake stand out, and how can you recreate it perfectly in your own kitchen? Well, buckle up because we’re about to find out, and trust me, it’s going to be a fun ride.
The Ingredients: What You Need for Pink Velvet Cake
A pink velvet cake is not just a “pretty” cake; it’s a cake that relies on the right balance of ingredients to create that perfectly tender, soft texture and just the right hint of flavor. Here’s what you’ll need:
- All-purpose flour – This forms the base of your cake. You can use cake flour for a lighter crumb, but all-purpose works fine for this recipe.
- Granulated sugar – Essential for sweetness, but also contributes to the cake’s moistness.
- Baking powder – The leavening agent that makes the cake rise.
- Salt – Just a pinch, but it’s key for balancing the flavors.
- Unsalted butter – Butter is the fat in the cake that gives it that rich, tender crumb. Make sure it’s softened, not melted, or you’ll end up with a dense cake.
- Vegetable oil – It’s all about moisture here, and oil helps keep the cake from being dry.
- Eggs – These bind everything together and add a touch of richness.
- Buttermilk – The tangy acidity of buttermilk is essential in a velvet cake, helping to create that signature tender texture.
- Pink food coloring – Here’s where the magic happens. This is the color that gives the cake its signature pink hue. I’m talking about a concentrated gel food coloring, not liquid, for a richer color.
- Vanilla extract – A touch of vanilla is always a good idea for flavor depth.
- Cocoa powder – For the signature chocolate undertone. It’s not an overpowering chocolate flavor, but it’s there, adding a little depth.
- Cream cheese – This one’s for the frosting. You can’t have velvet cake without a luscious cream cheese frosting, right?
Substitutions for Dietary Preferences and Allergies
Now, some people have specific dietary needs, and that’s okay! Pink velvet cake is versatile enough to be tweaked:
- Dairy-free: Swap the buttermilk with almond milk or soy milk, and use a non-dairy cream cheese for the frosting. Ensure that your butter is dairy-free.
- Gluten-free: Replace the all-purpose flour with a good gluten-free blend. Just be aware that gluten-free flours can sometimes change the texture, so you might need to tweak the recipe a bit to get the right consistency.
- Vegan: For a vegan version, you can replace the eggs with flaxseed eggs (1 tablespoon ground flaxseed mixed with 3 tablespoons water per egg), and use vegan butter and cream cheese.
- Sugar-free: You can use a sugar substitute like stevia or monk fruit in place of regular sugar, though it can affect the texture slightly.
Step-by-Step Instructions: Let’s Bake That Beauty
- Preheat the oven to 350°F (175°C). Get your pans ready by greasing and flouring them. Or, if you’re feeling lazy, use parchment paper.
- Mix the dry ingredients. In a bowl, whisk together your all-purpose flour, cocoa powder, baking powder, and salt. Set that aside.
- Cream the butter, oil, and sugar. In another large bowl, beat the softened butter and sugar together until fluffy. This can take a good 3-5 minutes with an electric mixer. Add the oil and mix until combined. The butter and oil combo give this cake its perfect moist texture, so don’t skip that step.
- Add eggs, one at a time. Add each egg and mix well after each addition. This will help incorporate air into the batter, giving the cake a fluffy structure. Don’t rush this.
- Pour in the buttermilk and vanilla. Once your eggs are mixed in, add the buttermilk and vanilla extract. Mix just until incorporated.
- Color it up. Now for the fun part—add in your pink food coloring. Start with a few drops, and mix until you reach the color you want. You want it vibrant, but remember, it might darken a bit as it bakes, so don’t go overboard with the coloring. A little goes a long way.
- Combine the wet and dry ingredients. Alternating between the dry ingredients and the wet ingredients, slowly add the dry mixture to the wet mixture. Begin and end with the dry ingredients. Mix until just combined.
- Bake. Pour the batter into your prepared pans and bake for 25-30 minutes, or until a toothpick comes out clean when inserted into the center. Let the cakes cool in the pans for 10 minutes, then turn them out onto a wire rack to cool completely.
- Frost. Once the cake is cool, spread that luscious cream cheese frosting all over the top and between the layers. If you’re feeling fancy, you can even decorate with some edible flowers or pink sprinkles.
Baking Techniques & The Science Behind It
There’s a reason why you need to cream the butter and sugar together so thoroughly. It’s not just about mixing. This step incorporates air into the batter, and that’s essential for the cake’s tender, airy texture. Don’t skimp on this.
The reason for using buttermilk isn’t just flavor—it’s chemistry. Buttermilk reacts with the baking soda and cocoa powder, helping to break down gluten, which keeps the cake from becoming tough. That’s what gives the cake its “velvety” texture.
Also, be mindful of your mixing speed. Over-mixing the batter once the flour has been added will develop the gluten too much and result in a denser cake. We want light, airy, tender.
Serving & Pairing Suggestions

Once the cake is frosted and ready to go, you can serve it in so many ways. You could dress it up with fresh berries, which would add a tart contrast to the sweet richness of the cake. A drizzle of raspberry or strawberry sauce could bring in a touch of acidity to balance the sweetness.
Pair it with a glass of cold milk, or, if you’re feeling indulgent, a glass of rosé could bring out the fruity flavors in the cake. Don’t forget to take lots of pictures—this cake is a showstopper.
Conclusion
So, what’s the takeaway from this beautiful, vibrant cake? It’s a celebration of texture, color, and flavor. The buttermilk and cocoa powder create the iconic velvet texture, while the pink color makes it a fun twist on the traditional red velvet. It’s a cake that’s soft, sweet, and just a little indulgent—perfect for any occasion.
Expert Tips & Troubleshooting
- Too dense? You might have over-mixed the batter, or your oven temperature could be off. Always check your oven’s temperature with an oven thermometer.
- Not pink enough? Add a little more food coloring, but remember, a little goes a long way.
- Frosting slipping off? Make sure your cake layers are completely cool before frosting. If they’re warm, the frosting will melt and slide off.
Frequently Asked Questions
Can I use a different frosting?
Absolutely! While cream cheese frosting is traditional, you could use a buttercream or whipped cream frosting for a lighter finish.
How can I make the cake even more moist?
Adding a bit of sour cream or even yogurt can help increase moisture levels without compromising texture.
Can I make this cake ahead of time?
Yes, you can bake the layers a day in advance. Just wrap them tightly in plastic wrap to keep them moist, and frost the cake when you’re ready to serve.
What if I don’t have pink food coloring?
You can use red food coloring, but it might give you a darker color. You could also try a natural pink hue, like beet juice.
There you go! Whether you’re a seasoned baker or just starting, this pink velvet cake will impress everyone at the table. So go ahead—get baking!

Food lover, recipe creator & the heart behind NoshCrafters.com. Olivia shares mouthwatering, easy-to-make dishes that turn everyday meals into unforgettable bites. When she’s not experimenting in the kitchen, she’s busy plating up inspiration for home cooks everywhere.