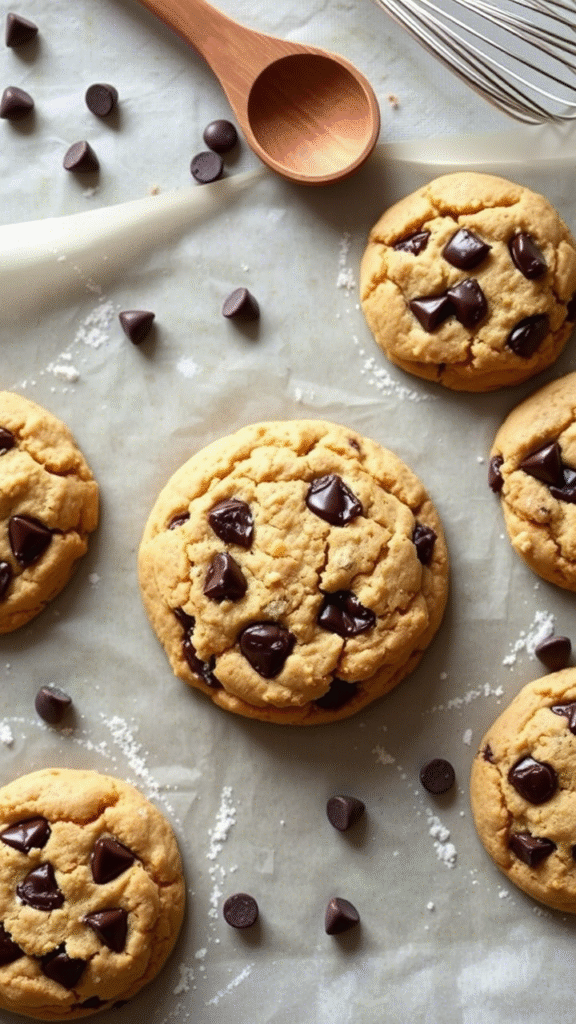
If you’ve ever walked by a Crumbl Cookies shop, the sweet aroma of freshly baked cookies probably had you weak in the knees. Their signature soft, thick cookies with gooey centers and perfectly crisp edges have garnered an almost cult-like following. But what if you could recreate that exact experience in your kitchen? Today, I’m going to share with you a recipe that’s as close to Crumbl as you can get—without needing to stand in line or fork out a fortune.
When I first bit into a Crumbl cookie, I had to pause and ask myself, “How do they make this so perfect?” It’s all about balance—texture, flavor, and presentation. The trick lies in a few key techniques and the right ingredients. In this recipe, I’ll walk you through every detail, so you can make cookies that taste just like the real thing. We’re talking about soft, chewy centers, crisp edges, and flavors that’ll have you coming back for more.
Ingredients & Substitutions
The Basics
To kick things off, let’s look at what goes into this Crumbl cookie copycat. You’ll need:
- Butter (1 cup, softened): Always use unsalted butter. The salt in your butter can throw off the delicate balance of flavors.
- Granulated sugar (1 cup): This will give your cookies that sweetness we all love.
- Brown sugar (1/2 cup): For depth and a little caramel flavor. It’s the secret ingredient that makes these cookies extra special.
- Eggs (2 large): Eggs help bind everything together and add to the chewy texture. Make sure they’re room temperature for the best results.
- Vanilla extract (2 tsp): This adds that signature warm flavor that brings everything together.
- All-purpose flour (3 1/2 cups): You can try using a higher-protein flour for a slightly chewier result, but all-purpose is what you want for the classic texture.
- Baking soda (1 tsp): This will help your cookies rise without making them too cake-like.
- Salt (1/2 tsp): You need salt to enhance the sweetness and balance the flavors.
- Cornstarch (1 tbsp): The key to the super soft texture. Trust me on this one.
- Chocolate chips (1 cup): Semi-sweet chocolate chips are the classic choice, but you can also experiment with milk or dark chocolate.
Read this Blog: https://noshcrafters.com/texas-roadhouse-rattlesnake-bites/
Substitutions & Dietary Adjustments
Let’s be real—sometimes we need to make adjustments based on allergies, preferences, or just what we have in the pantry.
- Butter alternatives: If you’re dairy-free, swap out the butter for a plant-based version (like Earth Balance). The cookies won’t have that buttery richness, but they’ll still come out delicious.
- Egg replacement: Try flax eggs or a commercial egg replacer if you’re vegan. These swaps work great, though your cookies may be a touch less fluffy.
- Flour options: If you’re gluten-free, you can use a 1-to-1 gluten-free flour blend. Just be aware the texture may vary a little, so be sure to use a blend that contains xanthan gum for the best result.
- Sugar alternatives: For those watching their sugar intake, you could experiment with erythritol or monk fruit sweetener. Just know it might alter the texture a bit, but it should still taste pretty darn good.
Step-by-Step Instructions
- Preheat Your Oven: Start by preheating your oven to 350°F (175°C). This will ensure that your cookies bake evenly and give you that perfectly soft center.
- Cream the Butter and Sugars: In a large bowl, beat the softened butter, granulated sugar, and brown sugar together until it’s light and fluffy. You’re looking for a pale, almost airy mixture. This step is crucial for that melt-in-your-mouth texture. Don’t skimp on this; it makes all the difference.
- Add the Eggs and Vanilla: Mix in the eggs, one at a time, making sure each is fully incorporated before adding the next. Then add the vanilla extract. This adds a subtle warmth and a pleasant aroma to the dough.
- Combine Dry Ingredients: In a separate bowl, whisk together the flour, cornstarch, baking soda, and salt. I can’t stress enough how important it is to sift these dry ingredients together. It’s going to ensure your cookies are smooth and lump-free.
- Mix Dry and Wet Ingredients: Gradually add the dry ingredients to the wet ingredients. Stir until just combined. Be careful not to overmix, as that can lead to dense cookies.
- Fold in Chocolate Chips: Gently fold in the chocolate chips. This is where you get to play around. Try adding a combination of chocolate chunks, toffee bits, or even crushed Oreos for a fun twist.
- Shape the Dough: Now, here’s a pro tip—don’t roll the dough into perfect balls. Instead, use a cookie scoop and just press them slightly. This will help give your cookies the thick, soft texture you’re after.
- Bake: Place the dough onto a parchment-lined baking sheet. Space them about 2 inches apart. Bake for 10-12 minutes or until the edges are golden but the center is still soft. Don’t worry if they seem too underdone; they’ll firm up as they cool.
- Cool and Enjoy: Let your cookies cool on the baking sheet for 5 minutes before transferring them to a wire rack. This gives the structure time to set, ensuring they don’t fall apart when you move them.
Cooking Techniques & Science
Why does this method work so well? Let’s talk about some of the science behind it.
- Cornstarch: It’s often used in cookie recipes for its ability to absorb moisture and keep the cookies tender. The cornstarch prevents the cookies from spreading too thin, giving them that thick, chewy center.
- Butter vs. Margarine: Butter contains about 80% fat, which gives cookies their rich, melt-in-your-mouth texture. Margarine, on the other hand, has a higher water content, which can make your cookies more crisp than soft.
- Chilling the dough: It’s a trick you’ve probably heard about, but it’s not always necessary for this recipe. However, if you want extra thick cookies, refrigerating the dough for 30 minutes to an hour can help slow down the spread, resulting in a thicker, more structured cookie.
Serving & Pairing Suggestions
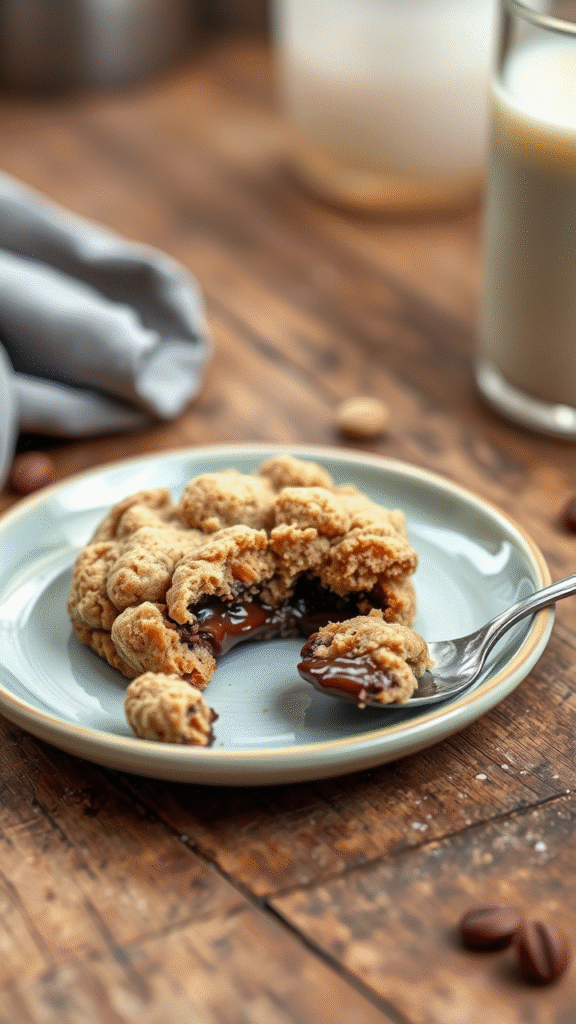
These cookies are delicious on their own, but they’re also great when paired with a cold glass of milk, a scoop of ice cream, or even a cup of coffee. If you want to take things up a notch, serve them warm with a drizzle of caramel sauce and a sprinkle of sea salt.
For a fun twist, try these cookies as an ice cream sandwich. Simply place a scoop of your favorite ice cream between two cookies, and you’ve got yourself a decadent treat.
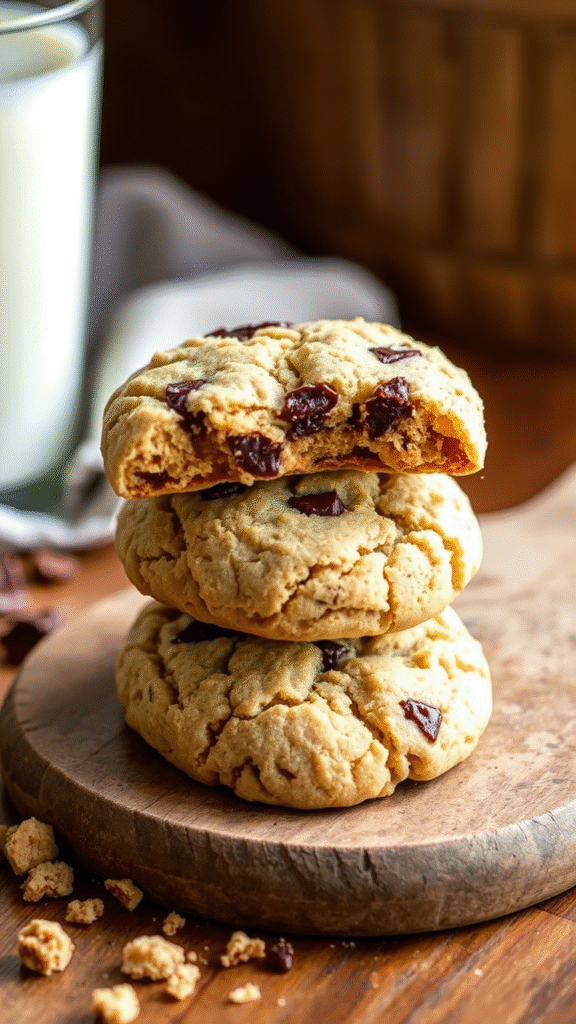
Conclusion
There’s no denying it—these cookies are something special. By following this recipe, you’re not just recreating Crumbl Cookies at home. You’re getting the perfect balance of sweetness, texture, and flavor. Whether you’re making them for a special occasion or just because you deserve a treat, these cookies will surely hit the spot.
Pro Tip: If you want to get the Crumbl experience even closer, experiment with different flavor variations. Add in different chips, candies, or even a dash of cinnamon for a new take on the classic.
Frequently Asked Questions
Can I make these cookies ahead of time?
Yes, you can refrigerate the dough for up to 3 days before baking. You can also freeze the dough for up to 3 months. Just scoop the dough, freeze it on a baking sheet, then transfer the balls to a freezer bag.
Why are my cookies spreading too much?
The most likely reason is that your dough was too warm when you baked it. Make sure your butter is softened, not melted, and that you chill the dough if needed.
Can I use whole wheat flour instead of all-purpose flour?
You can, but the texture will be denser. For a more traditional soft, chewy cookie, stick with all-purpose flour.
How do I prevent my cookies from being too hard?
Don’t overbake them! It’s better to take them out a little underdone, as they’ll continue cooking on the baking sheet once you remove them from the oven.
Can I add different mix-ins?
Absolutely! You can add white chocolate chips, peanut butter chips, or even swirl in a bit of peanut butter for a unique twist on the classic.

Food lover, recipe creator & the heart behind NoshCrafters.com. Olivia shares mouthwatering, easy-to-make dishes that turn everyday meals into unforgettable bites. When she’s not experimenting in the kitchen, she’s busy plating up inspiration for home cooks everywhere.