
Ever caught yourself daydreamin’ about that perfect dessert that hits just right? Like, not too fancy to scare off your kitchen confidence, but still impressive enough to wow a crowd? I’ve been there, trust me.
Desserts can feel intimidating, but with the right recipe, they turn into sweet little joys that anyone can whip up. Here, I’m sharing 55 easy dessert recipes that cover everything from simple classics to inventive twists.
They’re approachable but packed with techniques and tips you won’t find in your average cookbook. Let’s dive into the sweet stuff, shall we?
1. Classic Chocolate Chip Cookies: The Benchmark of Sweet Comfort
This ain’t your grandma’s cookie, well, maybe it kinda is but with a twist. Chocolate chip cookies are the undisputed champions of desserts—simple, nostalgic, and downright addictive. What makes this version special? A perfect balance between crispy edges and chewy centers, achieved by chilling the dough overnight.
Ingredients & Substitutions
- 2 1/4 cups all-purpose flour (high-protein bread flour can give a chewier texture, but all-purpose is safer for newbies)
- 1 tsp baking soda
- 1/2 tsp salt
- 1 cup unsalted butter, softened (sub: coconut oil for dairy-free)
- 3/4 cup brown sugar (adds moisture and depth)
- 3/4 cup granulated sugar
- 2 large eggs
- 2 tsp vanilla extract
- 2 cups semisweet chocolate chips (use chopped bittersweet for a richer flavor)
Choosing fresh butter over margarine is a must here. Margarine can make the dough too soft, and your cookies might spread too much.
Step-by-Step Instructions
- Preheat oven to 375°F (190°C).
- Whisk flour, baking soda, and salt in a bowl.
- Beat butter and sugars until fluffy, about 3-4 minutes.
- Add eggs one at a time, then vanilla.
- Gradually mix in flour mixture. Fold in chocolate chips gently.
- Chill dough for at least 1 hour (overnight is best).
- Scoop dough onto baking sheets, leaving room for spread.
- Bake 9-11 minutes until edges are golden but centers still soft.
Pro tip: Don’t skip chilling the dough. It solidifies fats, slows spreading, and intensifies flavors.
Cooking Techniques & Science
Why chilling dough? Butter melts at room temp and causes cookies to spread thin. Chilling firms it, so cookies keep their shape but still develop caramelized edges as sugars react during baking—hello, Maillard reaction. Use parchment paper or silicone mats for even baking and less mess.
Serving & Pairing Suggestions
Serve warm with a cold glass of milk or a scoop of vanilla bean ice cream for that classic combo. For adults, pair with a robust espresso or even a dark stout beer for an unexpected kick.
2. Lemon Poppy Seed Muffins: Sunshine in Every Bite
Bright, tangy, and a little nutty from the poppy seeds—these muffins feel like spring in your mouth. The secret? Using buttermilk for tender crumb and a zesty lemon glaze for a shiny finish.
Ingredients & Substitutions
- 2 cups all-purpose flour
- 1 cup sugar
- 1 tbsp poppy seeds
- 1 tsp baking powder
- 1/2 tsp baking soda
- 1/4 tsp salt
- 3/4 cup buttermilk (or 3/4 cup milk + 1 tbsp lemon juice)
- 1/3 cup vegetable oil (sub olive oil for a fruity note)
- 2 large eggs
- Zest and juice of 2 lemons
Buttermilk’s acidity helps tenderize gluten, making muffins fluffy and soft. If you want vegan, swap eggs for flax eggs and use plant-based yogurt instead of buttermilk.
Step-by-Step Instructions
- Preheat oven to 350°F (175°C).
- Combine dry ingredients: flour, sugar, poppy seeds, baking powder, baking soda, salt.
- In another bowl, whisk wet ingredients: buttermilk, oil, eggs, lemon zest and juice.
- Fold wet into dry until just combined—don’t overmix or muffins get tough.
- Divide batter into muffin tins lined with paper cups.
- Bake 18-20 minutes until toothpick comes out clean.
Avoid the temptation to over-stir. That ruins crumb texture. Keep an eye during last minutes—oven temps vary!
Cooking Techniques & Science
Baking soda and powder combo creates a double action lift, giving muffins an airy texture. The acid in lemon juice reacts with baking soda for a nice rise. Also, poppy seeds add crunch and subtle nuttiness.
Serving & Pairing Suggestions
Best fresh and warm. Slather a bit of lemon curd or honey butter for extra zing. Goes great with green tea or a fruity white wine.
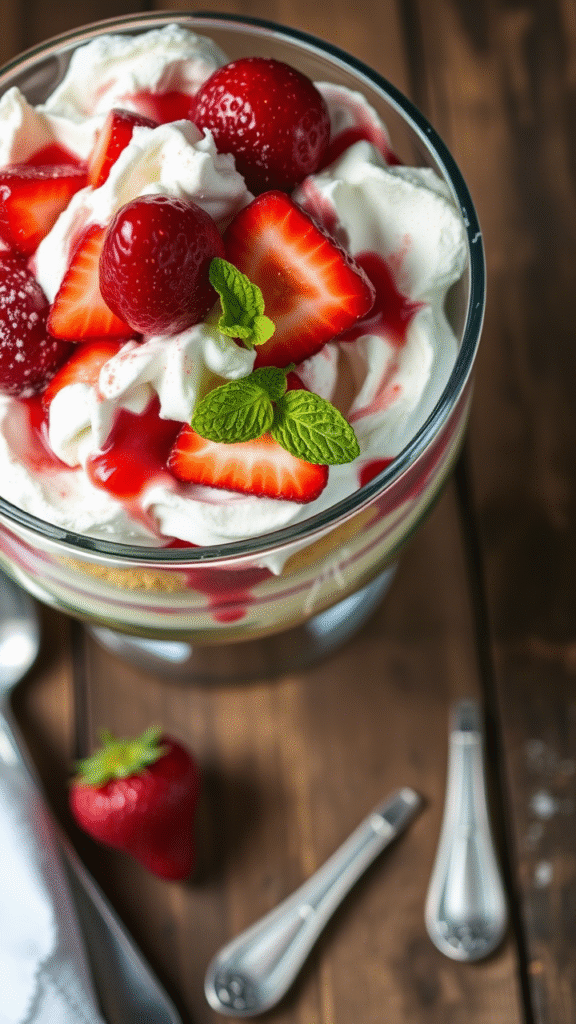
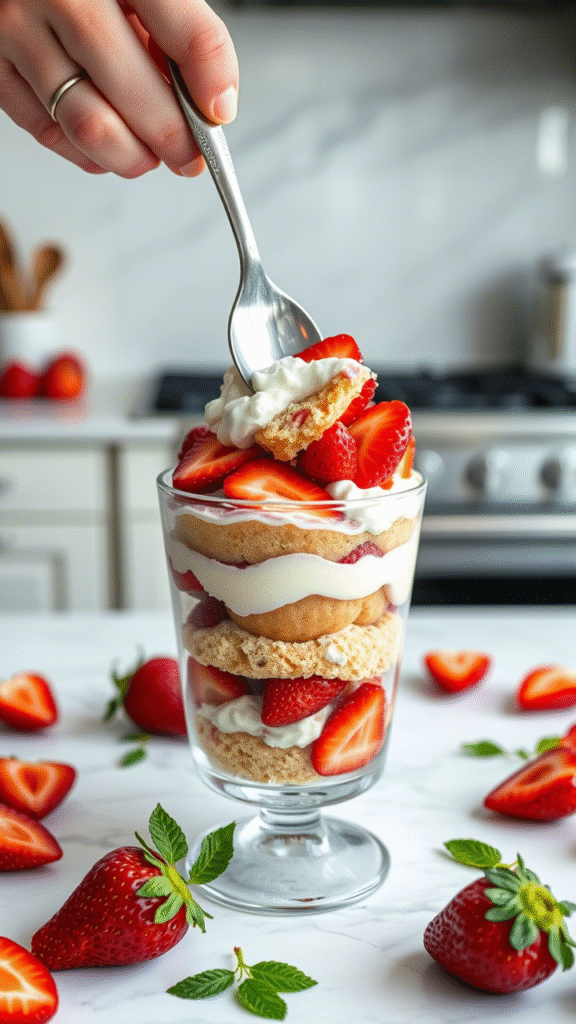
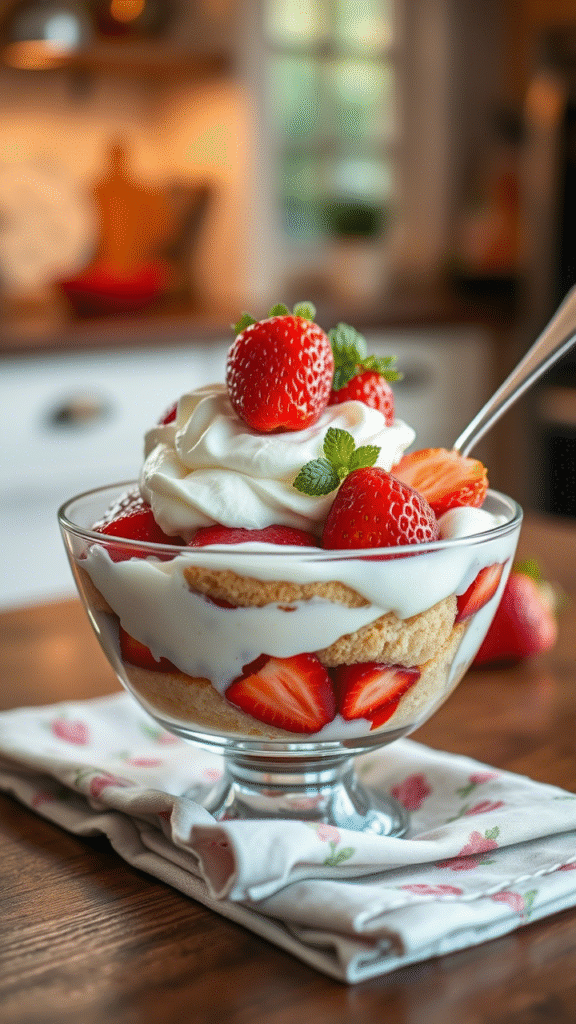
3. No-Bake Cheesecake Cups: Effortless Elegance
This one’s for when you want fancy without firing up the oven. Creamy, dreamy cheesecake filling layered on crunchy graham cracker crumbs and topped with fresh berries. The beauty is in the simplicity and no-bake magic.
Ingredients & Substitutions
- 8 oz cream cheese, softened (sub vegan cream cheese for dairy-free)
- 1/2 cup powdered sugar
- 1 tsp vanilla extract
- 1 cup heavy whipping cream (or coconut cream for vegan)
- 1 1/2 cups graham cracker crumbs
- 4 tbsp melted butter (vegan margarine works)
- Fresh berries for topping
High-fat cream cheese ensures a rich texture. Avoid low-fat versions—they tend to be grainy and less flavorful.
Step-by-Step Instructions
- Mix graham cracker crumbs with melted butter, press into bottoms of serving cups.
- Beat cream cheese and sugar till smooth.
- Whip cream to soft peaks, then fold gently into cream cheese mix.
- Spoon cheesecake filling over crust, smooth top.
- Chill at least 3 hours or overnight.
- Top with berries just before serving.
Over-whipping cream makes it grainy; under-whipping means runny filling. Watch your peaks!
Cooking Techniques & Science
Whipping cream incorporates air, making the cheesecake lighter. The cold chilling firms up the texture without baking, allowing flavors to meld. The crust acts as a crunchy base contrast.
Serving & Pairing Suggestions
Serve chilled in clear cups for visual appeal. Drizzle berry coulis or sprinkle edible flowers. Perfect with sparkling wine or a light rosé.
4. Banana Bread with Walnuts: Rustic Sweetness
Banana bread’s a universal favorite, but this recipe embraces rusticity—moist crumb with chunky walnuts for a satisfying crunch. It’s that cozy dessert you wanna nibble slowly with tea.
Ingredients & Substitutions
- 2-3 ripe bananas, mashed
- 1/2 cup softened butter
- 1 cup sugar
- 2 eggs
- 1 1/2 cups all-purpose flour
- 1 tsp baking soda
- 1/4 tsp salt
- 1/2 cup chopped walnuts (sub pecans or skip nuts for allergy)
Overripe bananas give natural sweetness and moistness. For gluten-free, swap flour for a mix of almond and coconut flour but adjust liquid.
Step-by-Step Instructions
- Preheat oven to 350°F (175°C). Grease a loaf pan.
- Cream butter and sugar until fluffy. Add eggs, one at a time.
- Stir in mashed bananas.
- Sift flour, baking soda, salt; fold into wet ingredients.
- Stir in walnuts gently.
- Pour batter into pan, bake 60-70 minutes. Check doneness with a skewer.
Avoid opening oven door too often; banana bread needs steady heat to rise properly.
Cooking Techniques & Science
Baking soda reacts with acidic bananas to leaven the bread. The fats coat flour proteins, limiting gluten development for tender crumb. Nuts add texture and flavor contrast.
Serving & Pairing Suggestions
Slice thick, spread with butter or cream cheese. Pairs wonderfully with chai or black coffee.
5. Classic Tiramisu: Italian Comfort in a Glass
Tiramisu’s a timeless Italian dessert that blends coffee-soaked ladyfingers with mascarpone cream. The layering technique and chilled resting make it a showstopper. What sets it apart? The balance of bitter espresso and sweet creamy layers, dusted with cocoa.
Ingredients & Substitutions
- 6 large egg yolks
- 3/4 cup sugar
- 1 cup mascarpone cheese (ricotta mix works in a pinch)
- 1 1/2 cups heavy cream
- 2 cups strong espresso, cooled
- 3 tbsp coffee liqueur (optional)
- 24 ladyfingers
- Cocoa powder for dusting
Use fresh eggs and quality mascarpone for authentic creaminess. Egg safety: use pasteurized eggs or cook yolks gently with sugar for custard.
Step-by-Step Instructions
- Whisk yolks and sugar over simmering water until thick (ribbon stage).
- Cool mixture, fold in mascarpone.
- Whip cream to soft peaks, fold into mascarpone mix.
- Dip ladyfingers quickly in espresso + liqueur mixture (don’t soak).
- Layer soaked ladyfingers and mascarpone cream in a dish.
- Repeat layers, top with cocoa powder.
- Refrigerate at least 4 hours.
The quick dip keeps ladyfingers intact but moist. Don’t over-dip or they get mushy.
Cooking Techniques & Science
The zabaglione-like custard base is silky and stabilizes the cream. Chilling firms the dessert and blends flavors. Coffee’s bitterness contrasts sweetness, creating complexity.
Serving & Pairing Suggestions
Serve cold, dusted with cocoa. Perfect with a glass of dessert wine or fresh berries on the side.
Conclusion
Desserts don’t have to be complicated or intimidating. Whether it’s the chewy perfection of a chocolate chip cookie, the bright burst of lemon poppy muffins, or the velvety layers of tiramisu, each recipe here brings something special to the table. Mastering ingredient choices, understanding technique science, and adding your own twists make all the difference. The key? Practice, patience, and a healthy pinch of fun.
Frequently Asked Questions
Can I substitute all-purpose flour with gluten-free flour in these recipes?
A: Mostly yes, but texture might change. For best results, use a gluten-free blend designed for baking and adjust liquids as needed.
How important is chilling dough or batter?
A: Very! It controls texture and flavor development, especially in cookies and no-bake desserts.
What if I don’t have fresh eggs for tiramisu?
A: Use pasteurized eggs or gently cook yolks with sugar to reduce food safety risks.
Can I make these desserts ahead of time?
A: Absolutely. Most improve after resting—especially no-bake and layered desserts.
What’s the best way to store leftover desserts?
A: Store in airtight containers. Cakes and breads last at room temp for a day or two; refrigerated desserts like cheesecake and tiramisu should stay cold.

Food lover, recipe creator & the heart behind NoshCrafters.com. Olivia shares mouthwatering, easy-to-make dishes that turn everyday meals into unforgettable bites. When she’s not experimenting in the kitchen, she’s busy plating up inspiration for home cooks everywhere.